DIY: How to make your own ceramics
Share
Reading time: 10 minutes
Pottery is a fascinating art form that combines creativity and craftsmanship. Whether you're an experienced potter or a beginner, making your own ceramic pieces can be a fulfilling and rewarding experience. In this blog post, we'll show you step-by-step how to make your own pottery.
Materials and tools
Before you start making pottery, you need the right materials and tools. Here is a list of the basic equipment:
- Clay : Different types of clay have different properties. Beginners should start with a smooth, easily moldable clay.
- Pottery wheel : An electric or manual pottery wheel is ideal for throwing pottery.
- Tools : Simple tools like wire cutters, modelling sticks, sponges and needle tools are essential.
- Oven : To fire the ceramics you need a special ceramic oven.
Step-by-step instructions
1. Preparing the clay
Start by preparing the clay. Knead the clay thoroughly to remove air bubbles and achieve a uniform consistency. This is called "wedging" and is crucial to avoid cracks or breaks later in the kiln.
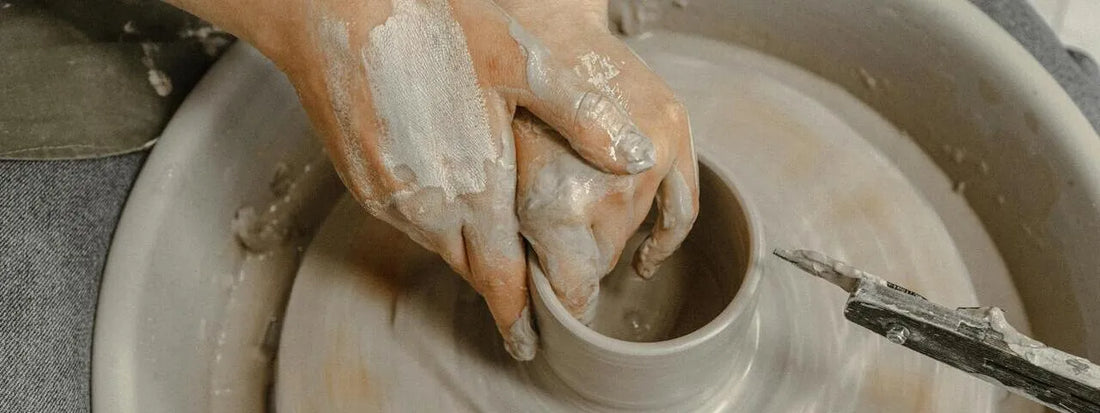
2. Forms of ceramics
Now you can shape the clay on the potter's wheel. Follow these steps:
- Centering : Place the lump of clay in the center of the disc and shape it with wet hands.
- Opening : Press your thumbs into the center of the clay to create an opening.
- Pulling up : Slowly pull up the walls of the clay to achieve the desired shape.
For detailed techniques, we recommend resources like the Pottery Wheel Guide .
3. Drying and finishing
Allow your molded ceramic pieces to dry slowly and evenly. This may take several days. Finish the surface with sponges and modeling tools to achieve smooth and even walls.
4. Burning
The firing of the ceramic takes place in two steps:
- Biscuit firing : The first firing takes place at a low temperature (approx. 900°C) to harden the clay.
- Glaze firing : After the glaze has been applied, the second firing takes place at a higher temperature (approx. 1200°C).
For detailed instructions and tips, visit Ceramic Arts Network .
Tips and tricks
- Experiment with glazes : Glazes add color and shine to your ceramics. Try different techniques to achieve unique effects.
- Mistakes as learning opportunities : Don't let mistakes discourage you. Every failed attempt is an opportunity to learn something new.
- Continuous learning : Attend workshops and read professional literature to improve your skills.
The opinion of Pottery Art
At Töpferkunst we are enthusiastic about the variety and creativity that pottery offers. Creating your own ceramic pieces is not only a craft activity, but also a way to express yourself artistically. We want to share our passion for ceramics with you and encourage you to start your own projects. Take a look at our collection of handmade ceramics to find inspiration and learn more about our craft.
Conclusion
Making your own pottery is a fulfilling hobby that offers both creative and practical benefits. With the right materials, techniques, and a little patience, you can create beautiful and unique ceramic pieces. Start today and discover the joy of pottery!
We hope this guide helps you get started in the world of ceramics. Check out our blog regularly for more tips and inspiration!